Whether you’re a backend, UI, web, or full-stack developer, much of the Software Development toolkit looks similar. Even when the exact tools are different, the toolkit translates intuitively between fields: version control systems, debugging and profiling tools, editors and language servers, and package managers work together similarly. What do these tools like when developing software and games with Unity? We’ll dive into this today.
Welcome to another installment of Unity for Software Engineers, a series for those seeking an accelerated introduction to game development in Unity. More is coming over the next few weeks, so consider subscribing.
Unity—as a proprietary, closed source1 Engine—is a walled garden of sorts For better or worse. You’re often given an entire ecosystem of tools made by Unity Technologies that fill the end-to-end needs of a game developer, from an editor, build system, profiling, and debugging system, to a package manager, UI styling language2, version control system, etc. Sometimes, using the tools you know and love is relatively easy, but at others, interoperability is less than ideal. One advantage of walled gardens is that they often offer an optimized experience. The disadvantage, of course, is that interoperability and choice are lacking. This article will show which parts of Unity can fulfill your needs and which tools outside Unity can interoperate well.
Version Control
Unity Technologies offers two source control solutions: Unity’s built-in Collaborate tool and PlasticSCM. That said, if you’re a Software Engineer and already comfortable with more traditional version control systems, I will always recommend you use your preferred VCS instead.
Both Collaborate and PlasticSCM are meant to make versioning and source control more accessible to non-developers. Especially in large teams where designers are checking in non-textual assets, it provides an easy to follow interface for those not comfortable with Git/Mercurial/SVN.
Unity Collaborate is more limited and does not provide branching support, while PlasticSCM—which was purchased by Unity Technologies in 2020—does.
The two advantages of Collaborate and PlasticSCM are:
- They work well with large binary files, and
- They are intuitive for someone not familiar with other VCS.
You might not even care about the size of your repository vis a vis handling large binary files. If you do, with traditional VCS, you can either choose SVN, which has a better handle on non-text files, or something like Git LFS. Similarly, if you’re working solo (or with a small team of other folks comfortable with whatever your VCS of choice is), then you can choose your favorite version control system.
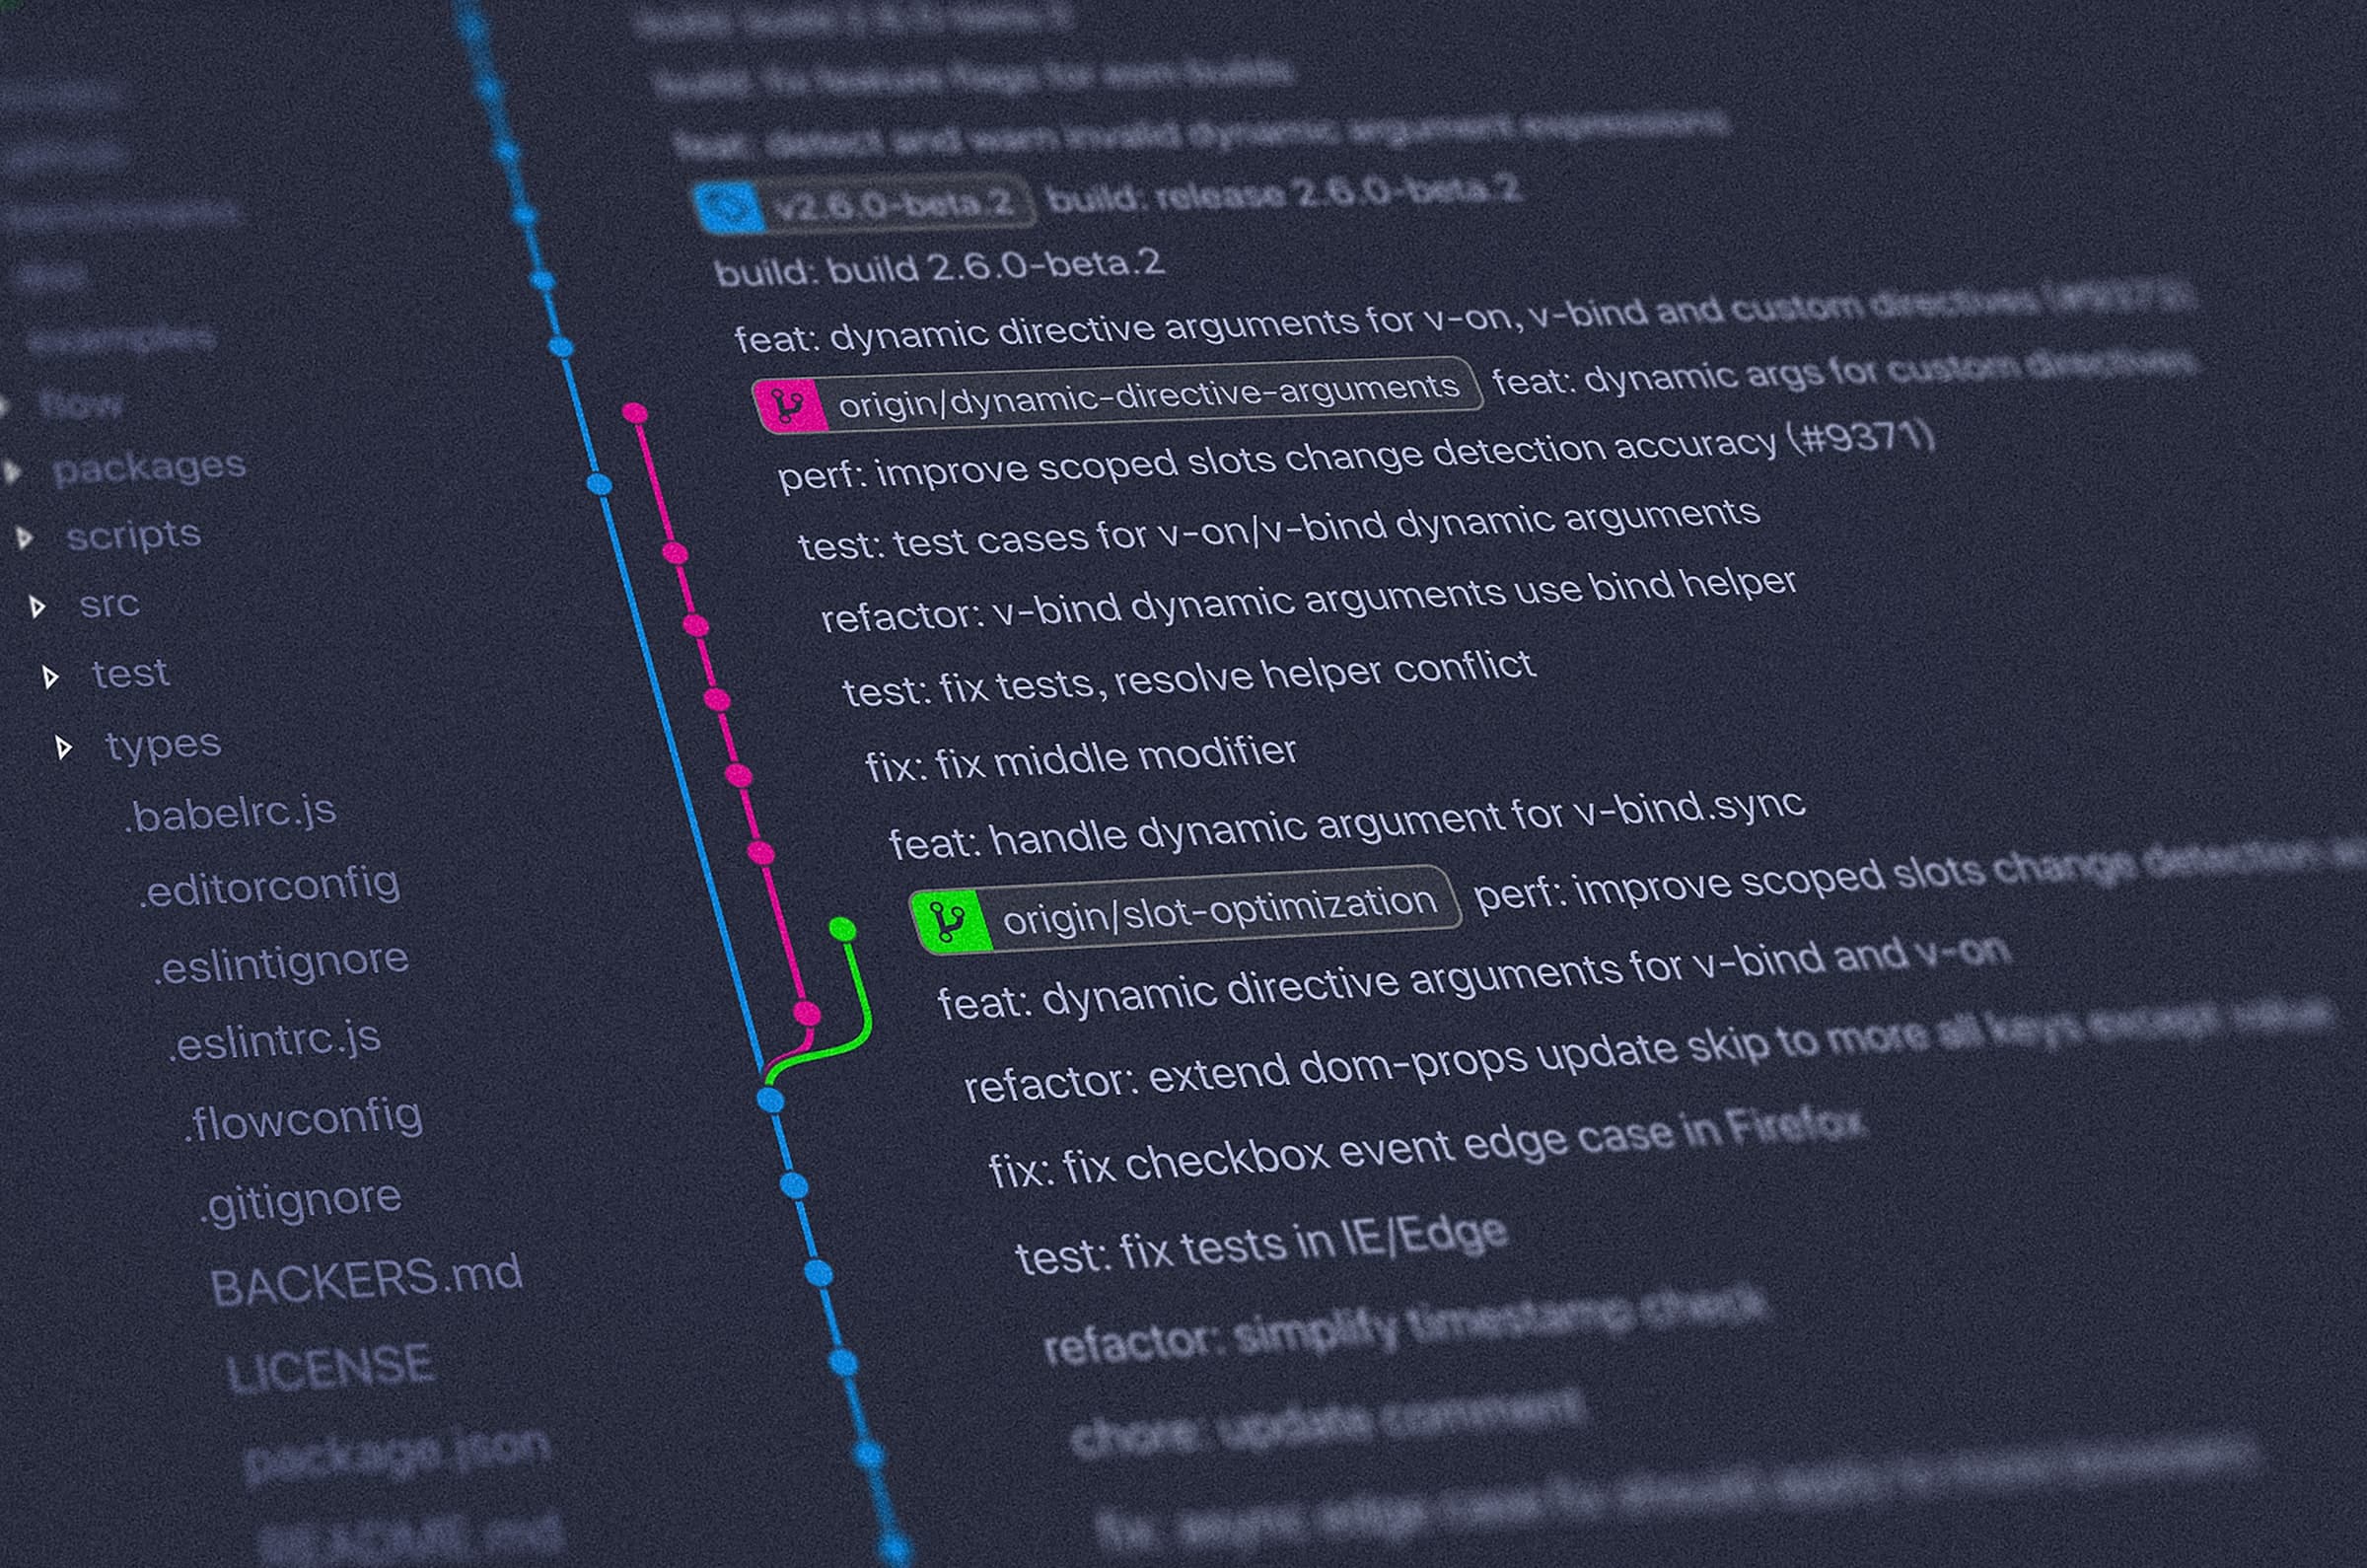
Using Git with Unity

Photo by Yancy Min via Unsplashed.
Like ~80%+ of developers, I prefer Git in day-to-day version control. Unity, for its part, works well with Git. Rick Reilly’s “How to Git with Unity” remains the best resource for using Unity with Git. The summary there is:
- Make sure Scenes & Prefabs are serialized on-disk as YAML text files, rather than in a binary format,
- Ignore the right files,
- Optionally, Use GitLFS.
Even with scenes persisted as text, note that large scenes might result in very nasty merge conflicts. A common recommendation I would echo here is to prefab objects early and often. Prefab objects are extracted out of a scene into a separate asset file. The scene merely contains a reference to the prefab, plus any local modifications. This makes it easier to makes sense of merge conflicts with a larger number of small files.
Package Management
As I’ve discussed in
my piece on the new Unity Input System package,
much of the Unity Engine’s more recent pieces are released as modularized
packages. Unity packages
are installed from the Unity Package Manager UI in the editor (open it in
Window > Package Manager). The package updates a manifest.json file that has
a "dependencies" entry identical to a
package.json. The
package manager resolves dependencies and writes to a package-lock.json.
As far as I’m aware, you’re expected to entirely manage your project’s packages from the Unity Editor UI (in the Package Manager window). The package manager can browse and install various packages from various registries. By default, the package manager only knows about the official Unity Technologies registry.
Projects like OpenUPM introduce both an ergonomic CLI for UPM and a package registry for Unity. I highly recommend getting OpenUPM.
If you’re familiar with .NET, the prevalent .NET package manager is NuGet. You can’t directly download NuGet packages into Unity. Instead, you’ll have to download those manually and put the DLLs in the right place. Some projects exist that attempt to make the NuGet picture more compelling, but this process is parallel to Unity’s package system. You might want to resort to NuGetForUnity if you’re considering relying on seminal packages, not in the .NET BCL, such as System.Collection.Immutable.
Editors & Debugging
You can use your IDE / Editor of Choice to edit the C# code in your project. If you would like intelligent completions and recommendations, your editor will need to be aware of Unity-specific magic (e.g., uncalled private Unity message functions will end being called). Unity provides integrations with four editors/IDEs:
- Visual Studio
- MonoDevelop
- VS Code
- JetBrains Rider
Today, these integrations are implemented as Unity Packages. To use a specific Editor:
- Make sure it is already installed,
- Make the integration package is installed,
- From Edit > Preferences > External Tools > External Script Editor, choose your editor of choice.
I generally prefer VS Code and will find myself gravitating there when editing code for my Unity games. But if you’re on Windows, you might also consider the full-blown Visual Studio IDE; its Unity integration is still superior, with Unity-specific analyzers to give you insight. A lot of people absolutely love JetBrains Rider as well (it’s just not for me).
Each supported editor can integrate with the Unity Editor for debugging. Unity’s IDE/editor integrations will automatically create C# projects or workspaces that define hooks for the debug action that trigger switching the Unity Editor into Debug Mode and attaching to its process. You can set breakpoints in your C# code and step through it as usual.
In Rider and Visual Studio, you’ll need to make sure Unity Integration is installed/enabled. In VS Code, you’ll need to download the Unity Debugger extension.
Profiling

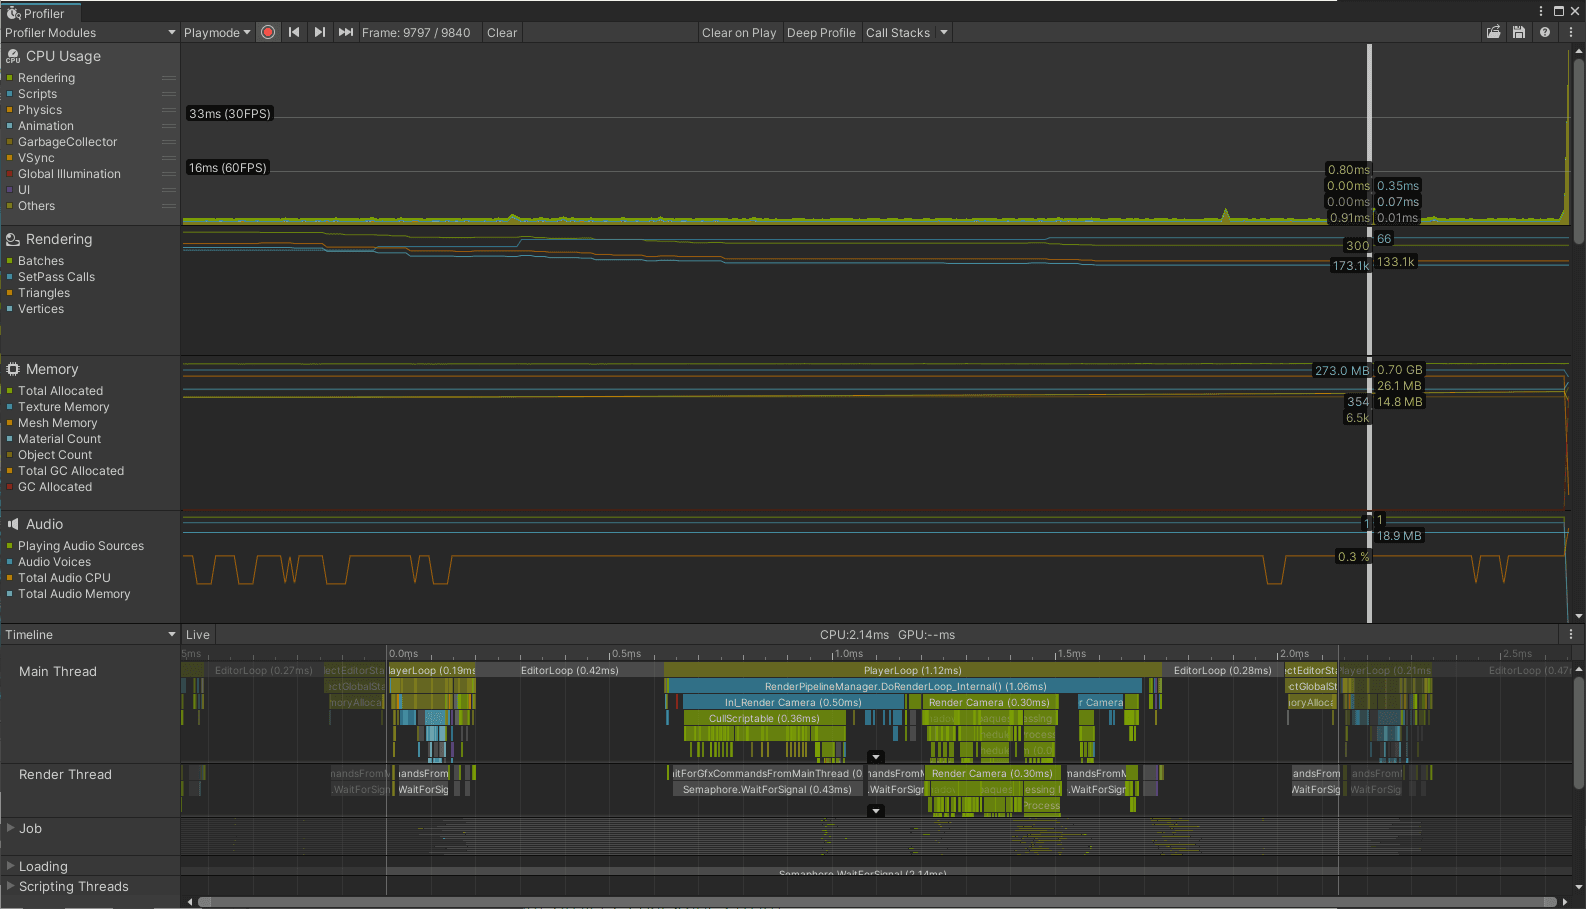
The Unity Profiler provides frame-by-frame profiles of CPU, Rendering, Memory, and other performance characteristics of your game. You’ll likely spend time looking at both the timing of your functions in the CPU view, as well as any excess allocations in the game loop that cause excessive GC cycles. In addition to the Timeline view shown above, a Hierarchy view is also available from the drop-down.
Unity has a built-in profiler that analyzes the runtime and heap allocations on a frame-by-frame basis in your game. Enable it from Window > Analysis > Profiler. It gives you both indications of how CPU-bound your code might be, as well as how GPU-bound various render logic is.
Unity’s documentation on getting started with the profiler is probably your best bet.
Continuous Integration
While Unity provides a Cloud Build CI service as part of Unity Teams, you can also roll your own, which I recommend trying; unity-ci.com provides instructions for setting up test and build runs on GitHub, GitLab, and Travis CI.
Conclusion
The software engineering toolkit equivalents are often provided within the Unity Editor (or as Unity Technologies -owned solutions/services). Usually, that provides a tailored end-to-end experience, but it often means that developing on Unity is an isolated “island”3 with its tooling and tech.
Do you disagree with some of these recommendations? Let me know! You can join the discussion on Twitter or by reaching out.
Footnotes
-
Unity’s C# code is publicly available under a reference-only license, rather than an open-source license. The core C++ Engine source isn’t available at all. ↩
-
This isn’t relevant to anything we’re talking about today, but I think it illustrates the point. Unity’s new UI Toolkit has a very HTML-like markup language called UXML and a very CSS-like styling language called USS. ↩
-
It should be said that this isn’t much different than, say, UnrealEngine, where you also have an entire ecosystem you can be locked into. ↩
 Photo by Carlos Irineu da Costa